
Knowing how to paint stop lines in a parking lot correctly is something most property owners only discover they need after the stall lines are already done and the lot still has no stop bars, exit markings, or directional arrows. These markings are not decorative. They control traffic flow, reduce accident risk, and are expected on most commercial properties for liability compliance. This 6-step guide covers stop bar dimensions, exit stencil placement, and every common marking your lot needs beyond the stall lines.
Most parking lots need four categories of traffic control markings beyond stall lines. Here is what each one does and where it goes:
For fire lane markings that require red curb paint and specific stencil text, see the fire lane markings guide. For ADA accessible space requirements, see the ADA handicap parking painting guide.
The Manual on Uniform Traffic Control Devices (MUTCD) sets the standard for pavement markings on public and private roads across the United States. Most commercial parking lots follow these standards for safety and liability:
| Marking Type | Color | Standard Width | Placement |
|---|---|---|---|
| Stop bar | WHITE | 12 to 18 inches | 4 to 8 ft before stop sign |
| Directional arrow | WHITE | 24 to 36 in stencil | Every 50 to 100 ft in aisle |
| EXIT ONLY text | WHITE | 12 to 18 in letter height | At exit lane, before exit point |
| DO NOT ENTER | WHITE | 12 to 18 in letter height | At one-way exit entrance |
| YIELD text | WHITE | 12 to 18 in letter height | At pedestrian crossing points |
Walk the entire lot and identify every location that needs a stop bar, exit marking, directional arrow, or yield marking. Mark each position with chalk before opening any paint. Attempting to plan mid-job causes inconsistent placement and missed markings. See the parking lot layout for striping guide for the full pre-paint planning process.
Sweep clear all debris and degrease any oil spots at stop bar and stencil locations. Stencils require a clean, flat surface for crisp edges. Any debris under the stencil lifts the edges and causes paint bleed. Allow the surface to dry completely before painting. Read the full surface prep guide for the complete checklist.
Air and surface temperature must be between 50 and 90 degrees Fahrenheit. No rain should be forecast for at least 2 hours after application. Stop bars and stenciled text applied in wrong conditions peel and fade fast regardless of paint quality. Check the spray striping paint temperature guide before starting.
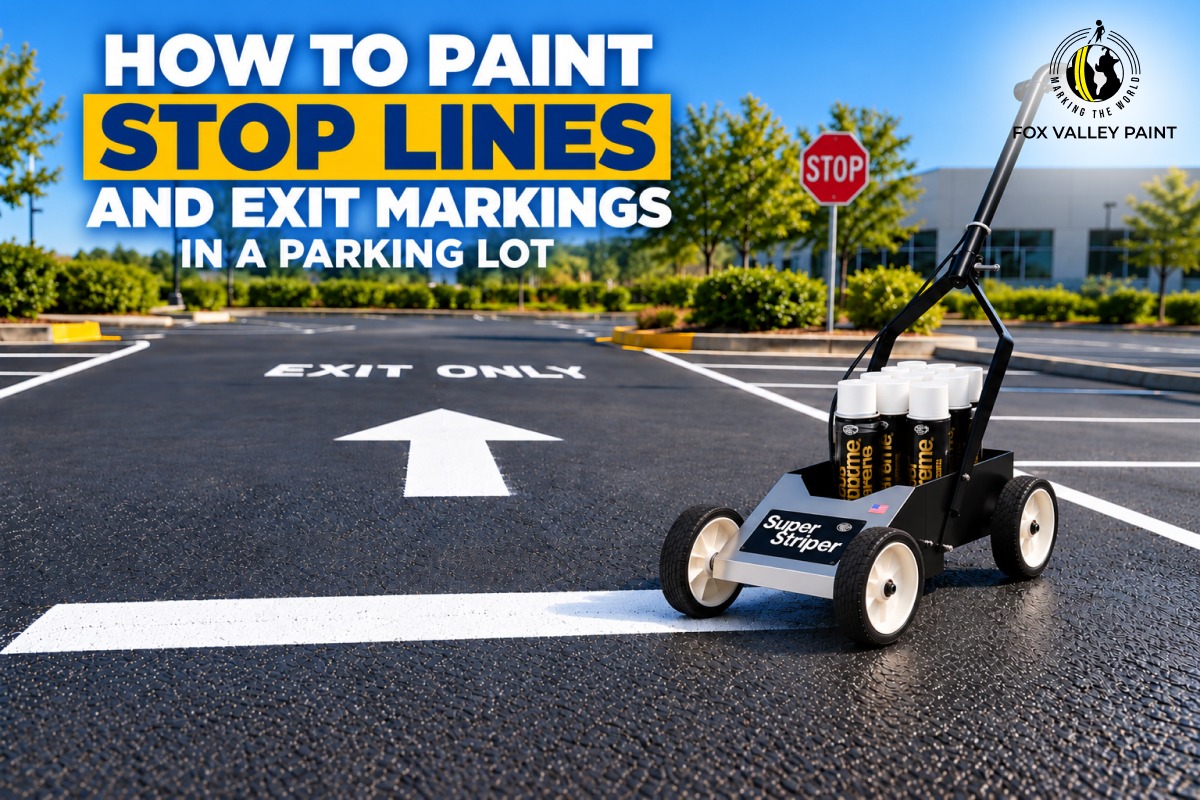
Snap a chalk line across the full lane width at each stop position, 4 to 8 feet in advance of the stop sign. Use a line striping machine set to 12 or 18 inches wide and make one complete pass along the chalk line. A stop bar is a single wide line, not two stall lines placed close together. One clean pass at the correct width is all that is needed.
Position each stencil flat against the surface. Hold all four corners down firmly to prevent paint bleed under the edges. Apply white traffic striping paint through the stencil openings in one steady even pass from 12 to 14 inches above the surface. Allow full drying before lifting the stencil to prevent smearing.
Common stencil markings needed on most lots:
One-way exit lanes
Wrong-way entry points
Directional arrows in aisles
Quality aerosol traffic striping paint dries to the touch in under 10 minutes and is vehicle-safe within one hour under ideal conditions. Keep all traffic off freshly painted stop bars and stencil markings for a minimum of one hour. Stenciled text is especially vulnerable to smearing before full cure because the paint sits on the surface rather than penetrating it.
Fox Valley’s professional-grade white traffic striping paint covers stop bars, stencil text, directional arrows, and stall lines from the same can. Fast-drying, solvent-based, built for asphalt and concrete. Use the paint calculator to order the right amount.
A stop bar placed less than 4 feet from the sign puts the front of the vehicle into the intersection before the driver sees oncoming traffic. The bar must be 4 to 8 feet in advance of the sign, not directly below it.
Stop bars must be 12 to 18 inches wide, three to four times wider than a standard stall line. A 4-inch stop bar is nearly invisible to drivers approaching at lot speed and does not meet standard requirements.
Lifted stencil edges allow paint to bleed underneath, producing blurry unreadable text. Always hold the stencil fully flat, weight the corners if needed, and spray from no more than 12 to 14 inches above the surface.
Drive aisles without directional arrows create confusion, head-on conflicts, and liability exposure. Every one-way aisle needs arrows repeated at least every 50 to 100 feet. See the DIY parking lot striping guide for full aisle marking requirements.
Stencil work requires a completely dry, clean surface. Painting stencils over wet stall lines or while debris is still settling produces smeared text and wasted stencils. Always complete and fully dry the stall lines before moving to stencil markings.
Fox Valley’s Parking Lot Starter Kit includes a precision line striping machine and professional-grade traffic paint to handle stall lines, stop bars, and every other marking your lot needs. No contractor required.