
The parking lot layout for striping is the step almost every DIYer skips — and it is exactly why most lots end up with crooked lines, uneven stalls, and wasted space. Getting the layout right before opening a single can of paint takes 30 to 60 minutes and prevents hours of correction work after the paint dries. This 7-step guide walks you through the exact process from blank asphalt to a fully chalked layout ready for paint.
Paint is permanent. Chalk is not. Every professional parking lot striper plans the full layout in chalk before touching a paint can. Skipping the layout step and painting by eye is the single most common cause of:
A 30-minute chalk layout prevents every one of these problems before a single drop of paint touches the surface.
Before measuring, confirm you are working to industry-standard dimensions. These numbers apply to the vast majority of US commercial parking lots. For ADA-specific requirements see the full ADA handicap parking painting guide.
| Element | Standard Dimension |
|---|---|
| Standard stall width | 8.5 to 9 feet |
| Stall length | 18 ft standard, 20 ft for larger vehicles |
| One-way drive aisle | 22 to 24 feet |
| Two-way drive aisle | 24 to 26 feet |
| Line width | 4 inches |
| ADA accessible stall | 8 ft minimum + 5 ft access aisle |
No layout work happens on a dirty lot. Sweep or blow clear all debris, dirt, and loose material. Oil stains and standing water interfere with chalk line visibility and paint adhesion. Read the full parking lot surface prep guide before starting any layout work.
Every layout starts from a fixed, straight reference point. The best options are a straight curb edge, a building wall, or a measured property boundary line. Never start from an irregular edge or an old painted marking. Measure from your baseline at both ends to confirm it is truly straight. A baseline that drifts even 2 inches over 100 feet creates visibly skewed rows by the end of the lot.
Example: Total width 63 ft. Subtract two-way aisle: 63 - 24 = 39 ft for stalls. Divide by 9 ft stall width: 39 / 9 = 4.3. Round down to 4 stalls with a 2.7 ft buffer at the end.
Always round down, never up. See our parking lot paint calculator to find out how many cans this stall count requires.
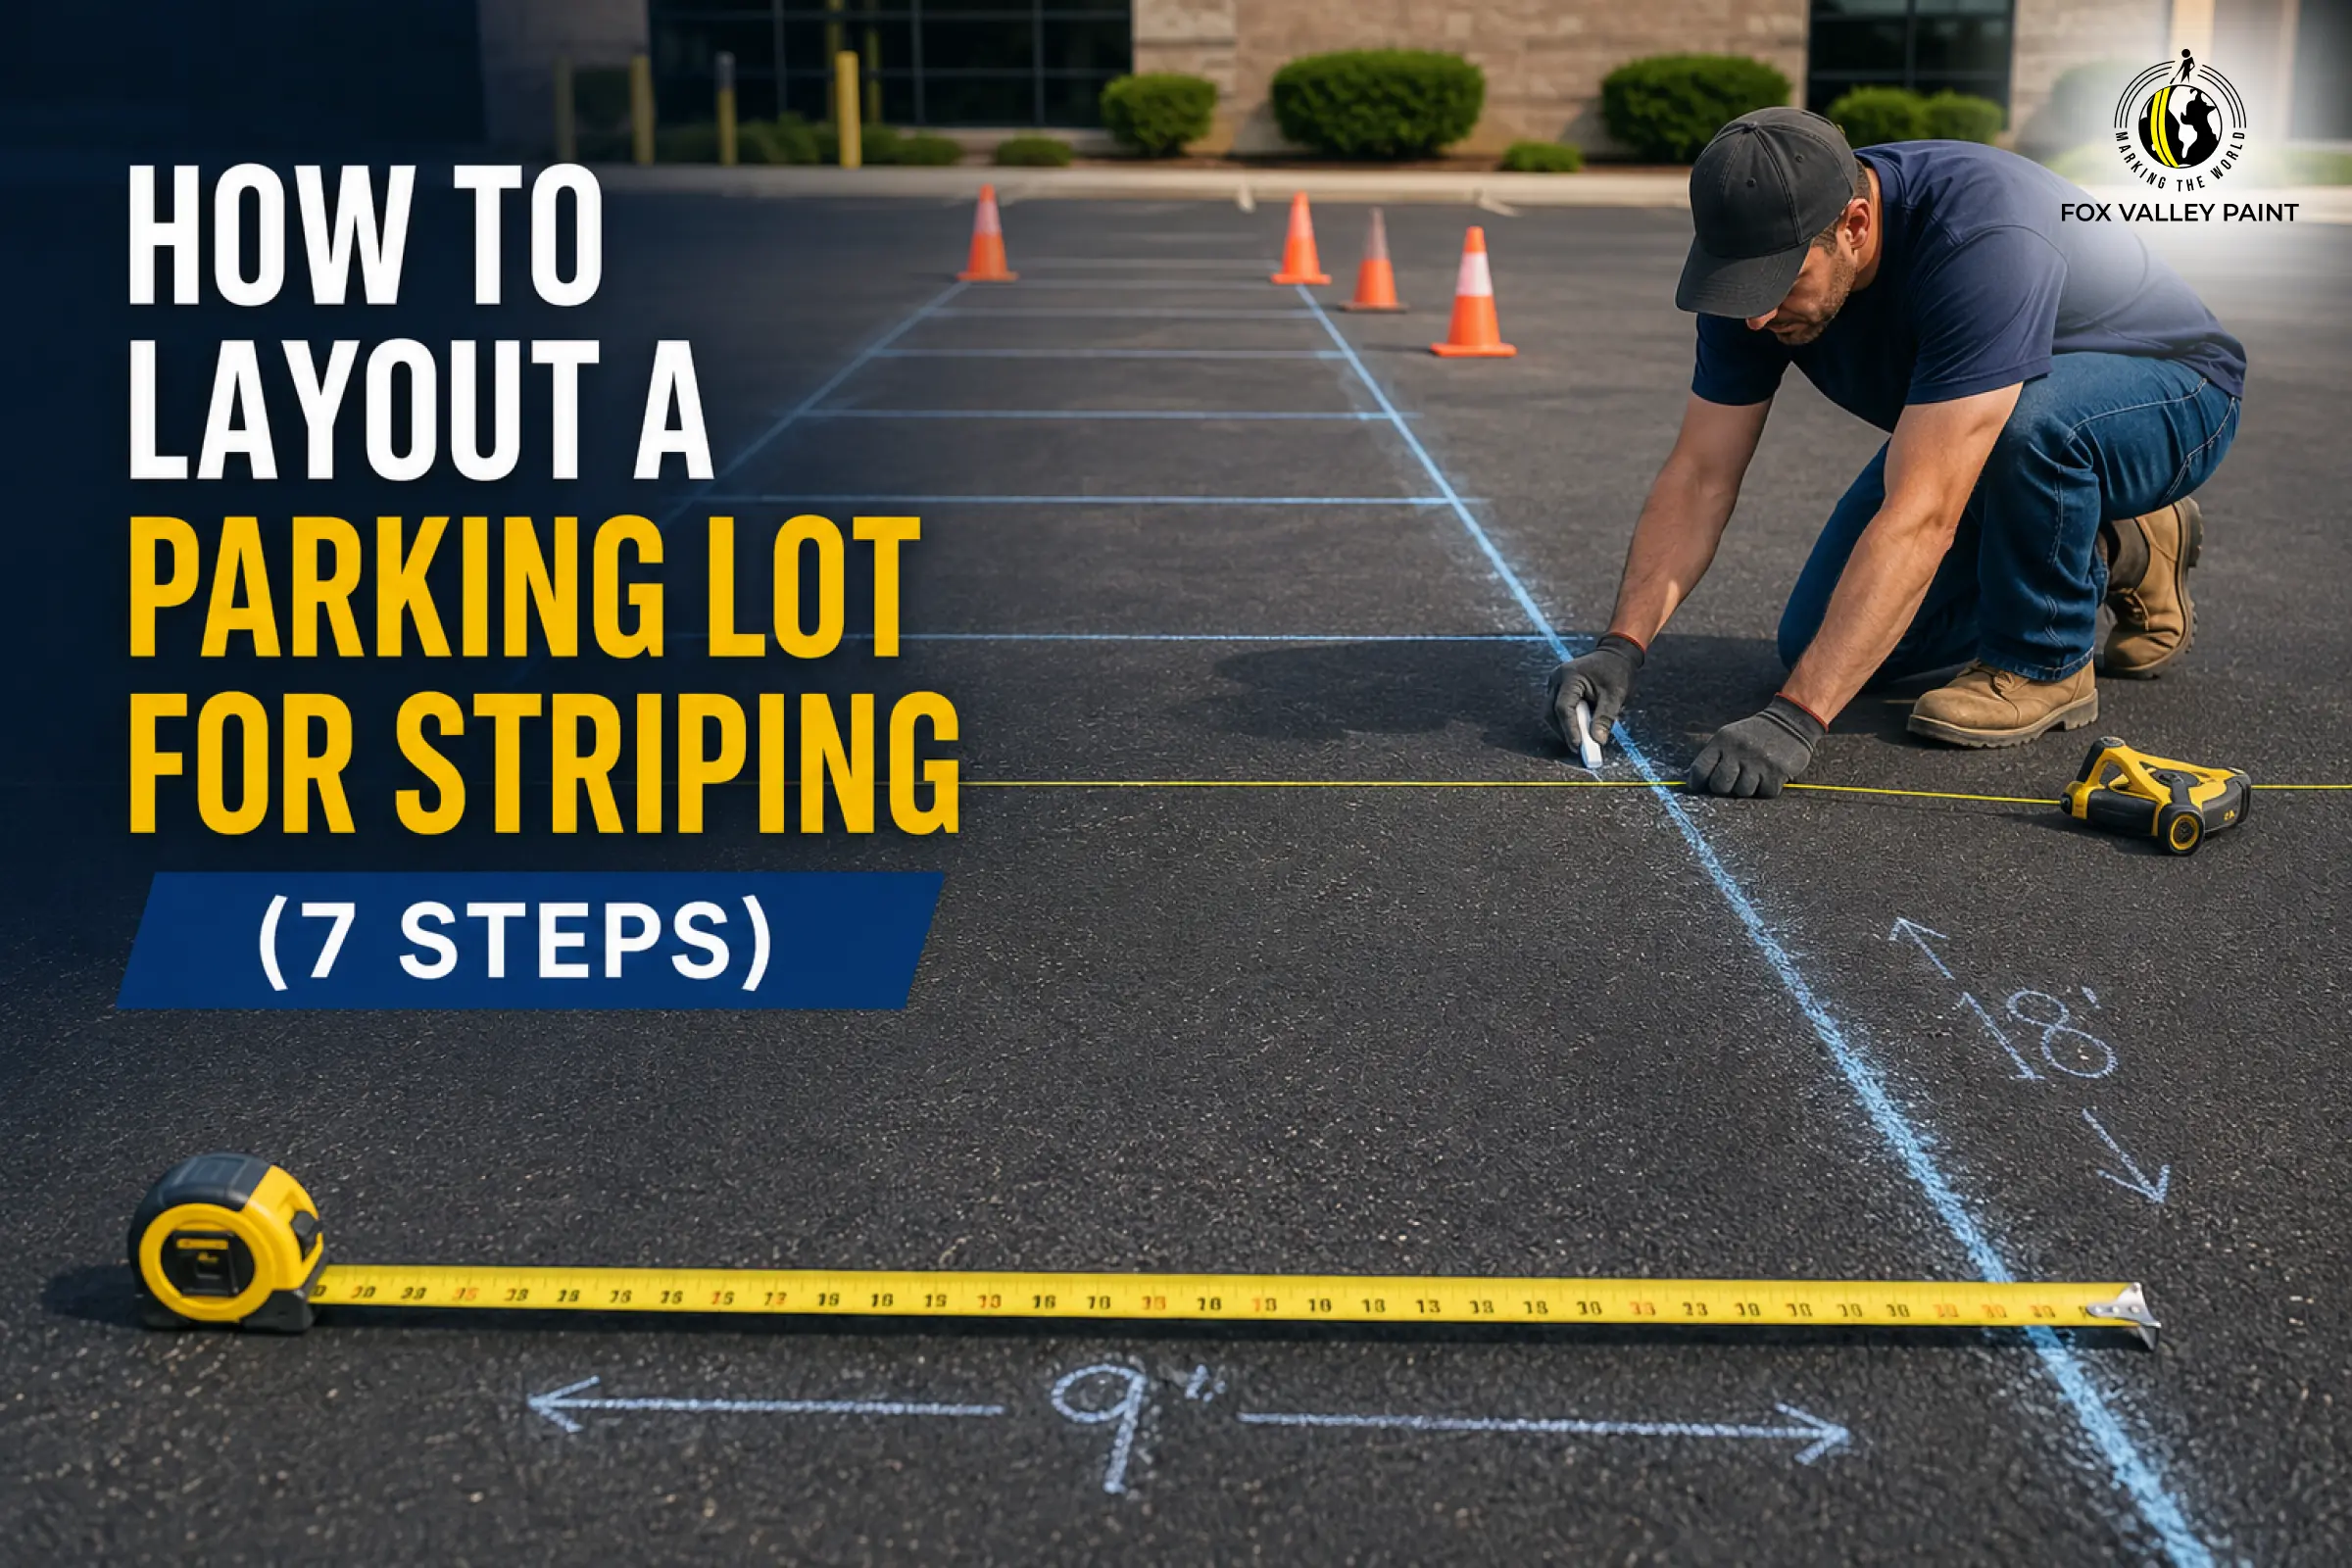
Starting from your baseline reference, measure and mark each stall endpoint every 8.5 or 9 feet along the full row using chalk or a lumber crayon directly on the asphalt. These marks become the anchor points for every chalk snap line in the row.
Measure 18 feet perpendicular from your baseline and snap a parallel chalk line the full length of the row. This becomes the back of every stall. Verify it is parallel by measuring at both ends and the midpoint. A difference of more than half an inch needs correction before continuing.
Hook your chalk snap line at each baseline mark and snap straight to the corresponding back line mark directly opposite. Each snap creates one stall line. Work from one end of the row to the other, snapping every line before moving to the next row. Stand back 20 to 30 feet and visually confirm all lines are parallel.
Walk every row on foot before opening any traffic striping paint. Confirm:
Fox Valley’s Traffic Starter Kit includes a precision line striping machine and professional-grade traffic paint. Everything you need to go from chalked layout to finished lot without hiring a contractor.
Using an old painted line or an irregular lot edge as a baseline is the most common error. Old lines drift and are rarely straight. Use a curb, building wall, or freshly measured centerline only.
Without a back line snap, stall length becomes inconsistent. Some stalls end up 17 feet, others 19 feet. The back line takes 10 minutes to snap and makes every stall identical in length.
Squeezing one extra stall by reducing width below 8.5 feet makes parking difficult for larger vehicles. Always round down and use the remaining footage as a buffer at the edge.
Per ADA Standards for Accessible Design, accessible spaces must be at the shortest accessible route to the building entrance. Plan these positions during layout before any painting begins.
Let the chalk layout sit and view it from a distance in multiple directions. Problems invisible up close become obvious from 30 feet away. Check the spray striping paint temperature guide while waiting to confirm conditions are right for painting.
The Fox Valley 12-Can Parking Lot Starter Kit includes enough professional-grade traffic paint for lots up to 50 spaces, plus the precision striping machine to apply every line straight and even. No contractor. No guesswork.
Standard stall width is 8.5 to 9 feet. High-turnover lots like grocery stores typically use 9 feet for easier maneuvering. See our [DIY parking lot striping guide] for the full dimension breakdown by lot type.
A 100-foot tape measure and chalk snap line are enough for the layout phase. A [line striping machine] is needed for the actual painting pass to maintain consistent 4-inch line width and straightness across the full row.