
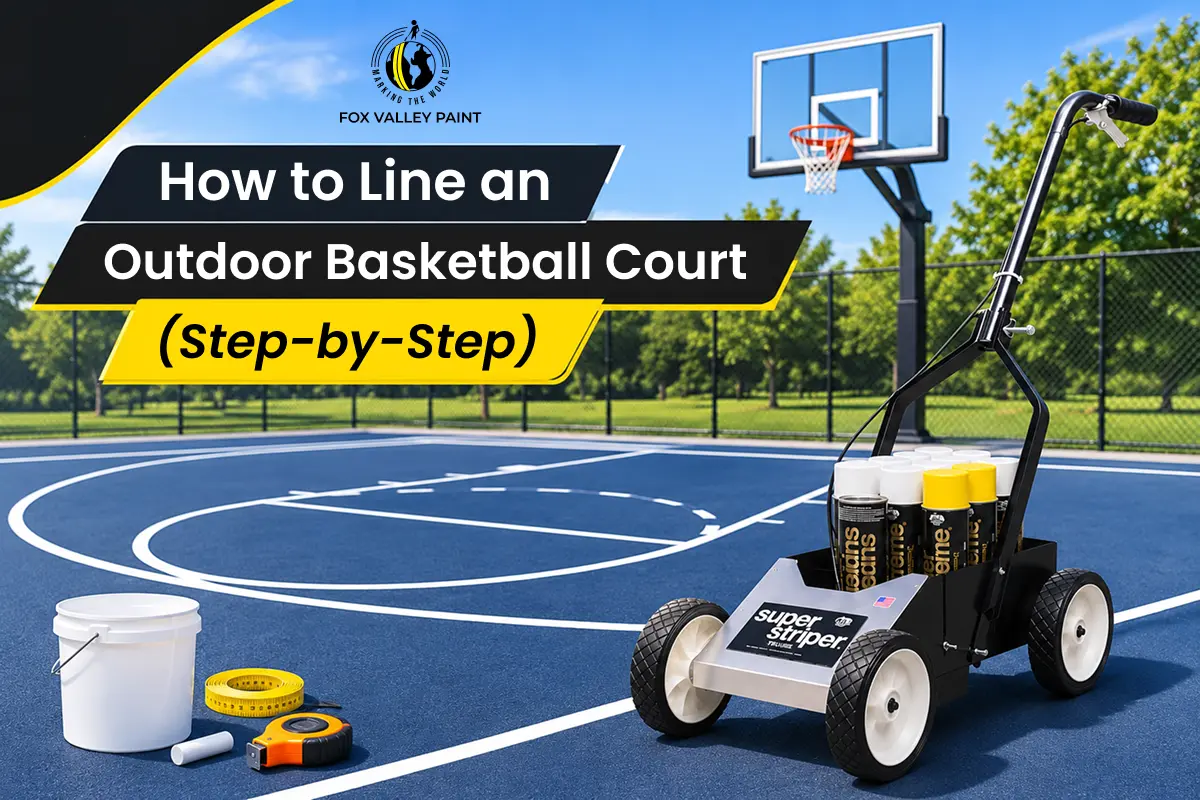
How to line an outdoor basketball court is a project most people overcomplicate, but with the right paint, a tape measure, and a chalk line, you can lay down clean, regulation-accurate markings in a single day. Whether you are lining a school court, a rec center slab, or a backyard half-court, the process is the same: measure once, mark with chalk, paint with confidence.
This guide covers every line on the court, the exact dimensions you need, the right paint to use, and the step-by-step process to get professional results without hiring a contractor.
Before you mark a single line, know your court size. Trying to fit NBA dimensions onto a 70-foot slab wastes paint and produces an unusable layout. Match your markings to the actual size of your court.
| Court Level | Length | Width |
|---|---|---|
| NBA / NCAA | 94 ft | 50 ft |
| High School | 84 ft | 50 ft |
| Junior High | 74 ft | 42 ft |
| Half Court (Recreational) | 47 ft | 50 ft |
All lines are 2 inches wide as standard. For outdoor courts with more distance between players and spectators, painting boundary lines at 4 inches improves visibility.
Here are every marking you need and where it goes:
Sweep the full court clear of loose debris. If the surface has oil spots or heavy staining, degrease and rinse. Fill any cracks with a concrete or asphalt patching compound and let it cure fully. Paint applied over wet or cracked pavement peels within weeks.
If this is a freshly poured concrete slab, wait at least 28 days before applying any paint, fresh concrete is still releasing moisture that will cause paint to bubble.
Start with the four outer boundaries. Measure the full court length along one sideline and snap a chalk line. Repeat for the opposite sideline. Then snap the two baselines connecting them. Use a carpenter’s square at each corner to confirm 90-degree angles, a court that is even a few degrees off will have arcs and lanes that never align correctly.
Measure the midpoint of both sidelines and snap a chalk line across the full court width. This is your half-court line. Drive a small stake at the exact center of the half-court line. Tie a string to it measuring 6 feet (the radius of the 12-foot diameter center circle) and walk the full circle while marking with chalk spray or chalk powder.
Measure 15 feet from the face of the backboard toward the court and snap the free-throw line chalk mark at 12 feet wide, centered on the basket. Mark the two lane lines running from the outer edges of the free-throw line straight to the baseline. This rectangle is the key, also called the paint or the lane.
Center the free-throw circle (6 ft radius) on the free-throw line, overlapping the top of the key. This creates the D-shape familiar on every court. Scribe it with a string compass the same way you did the center circle.
Drive a stake at the center of the basket anchor. For a high school court, tie a string to 19 ft 9 in and walk the arc from corner to corner. For NBA or college dimensions, use 23 ft 9 in at the top and connect straight corner lines at 22 ft from the basket along the baseline.
Chalk the full arc before committing to paint, this is the most time-consuming line to fix if it goes wrong.
Once your full chalk layout is verified, apply paint. Use a line striping machine for straight lines, it holds a consistent 2-inch or 4-inch width without drift. For arcs, use painter’s tape along both sides of the chalk scribe and apply athletic marking paint with a brush or roller.
Apply two thin coats, letting the first coat dry completely before the second. Thick single coats crack faster and peel at the edges. For more detail on how to get clean, long-lasting athletic lines, see the guide on best paint for sports fields.
Need paint for your basketball court?
Fox Valley’s athletic field marking paint is designed for outdoor concrete and asphalt, fast-drying, UV-resistant, and built to last through multiple seasons.
With quality athletic marking paint and a sealed surface, outdoor basketball court lines last 2 to 4 years. Heavy sun exposure, freeze-thaw cycles, and high foot traffic shorten that range. Inspect lines at the start of each season, faded or chipping lines are a tripping hazard and reduce playability.
To get the most out of your court markings, also check the full guide on how long athletic and pavement paint lasts and what conditions affect it most.
Once your space count is confirmed and your row layout is sketched, the physical striping process begins. If you are handling it yourself, read the DIY parking lot striping guide for step-by-step instructions on prepping the surface, laying chalk lines, and painting clean stalls. For a full materials estimate, including how many cans of paint you will need for the whole job, check the guide on how many cans of spray paint it takes to stripe a parking lot.
Lining multiple sports surfaces?
The Fox Valley Athletic Starter Kit includes the striping machine and paint to handle basketball courts, soccer fields, and more, all in one package.
Use an acrylic or latex-based athletic field marking paint rated for outdoor surfaces. Avoid interior paint, it fades quickly under UV exposure and cracks with temperature changes on concrete and asphalt.
Standard basketball court lines are 2 inches wide. Outdoor courts often use 4-inch boundary lines for better visibility at a distance. All lines within the court, key, arc, free-throw, stay at 2 inches.
An NBA-regulation court is 94 x 50 feet. A standard high school court is 84 x 50 feet. Recreational half-courts are commonly 47 x 50 feet. Always measure your available slab first and select the closest matching standard.
The free-throw line sits 15 feet from the face of the backboard at all levels of play, NBA, NCAA, and high school. The line is 12 feet wide and centered on the basket.
Outdoor court lines painted with quality athletic marking paint last 2 to 4 years depending on sun exposure, freeze-thaw cycles, and foot traffic. Applying a clear acrylic sealant every 2 to 3 years significantly extends the lifespan.