
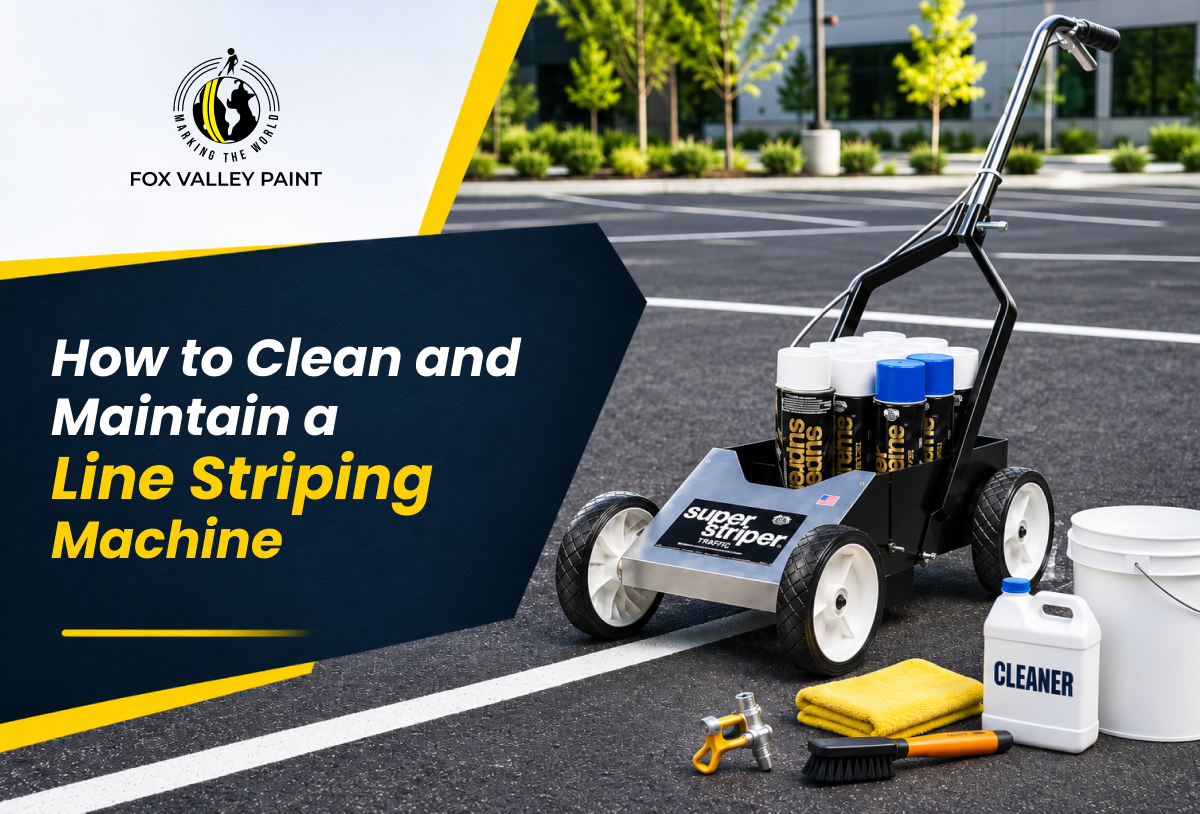
How to clean and maintain a line striping machine properly is the difference between a machine that runs for years and one that clogs, loses pressure, and fails mid-job. Paint left inside the pump, hoses, and filters hardens fast, especially in summer heat. Skip one cleaning session and you could be looking at a blocked tip, a ruined pump, or a full rebuild.
This guide covers the full after-use cleaning process, the maintenance tasks most operators skip, and the mistakes that shorten machine life faster than anything else.
Traffic marking paint is designed to bond to asphalt and concrete and cure hard. That is exactly what it does inside your machine if you leave it sitting. Dried paint inside a pump means lost pressure, uneven spray patterns, and in serious cases, a seized pump that cannot be flushed out, only replaced.
The Fox Valley line striping machine and every other aerosol-based or airless striper is built to handle heavy paint, but only if you flush it clean after every single session. Spending 10 minutes cleaning after a job protects a machine worth hundreds of dollars.
Before removing any tip, fitting, or hose connection, follow the pressure relief procedure in your machine’s manual. Attempting to remove a tip under pressure releases paint at high velocity and causes serious injury. This step is not optional. Do it every single time, even if the machine feels like it has been off long enough to depressurize.
Pull the spray tip and tip guard from the gun. Place them in a container of the correct solvent: clean water for latex paint, mineral spirits for oil-based. Let them soak while you flush the rest of the machine. This softens any dried paint in the orifice without you having to force it.
For more on how different tips affect spray width and pattern, read the guide on spray tips 101.
Move the siphon tube from the paint container into a bucket of clean solvent. Place the return hose into an empty waste bucket. Start the machine and run it at low pressure. You are flushing, not spraying. Let the solvent cycle through the system for 30 to 60 seconds, then switch to spray mode and trigger the gun into the waste bucket until clear fluid (no paint color) comes out.
Run the system dry once the fluid is clear. Air in the system is not a problem during the cleaning flush. You want to push all solvent out before storage.
Most line striping machines have three filters: the gun filter (inside the spray gun), the manifold filter (at the pump outlet), and the rock catcher (on the bottom of the siphon tube). These are the most neglected parts on any machine and the most common cause of pressure loss.
Remove each filter and rinse in the appropriate solvent. Use a soft brush to remove any paint residue. If the mesh is damaged or permanently clogged, replace it. Filters are cheap; pump repairs are not. Inspect weekly even if the machine looks like it is running normally.
After soaking, use a soft-bristle brush or a tip cleaning needle to clear the orifice. Run clean solvent through the tip by holding it in the stream from the gun briefly. Hold it up to light. If the spray pattern opening is symmetrical and clear, it is good. If the opening looks oval, warped, or enlarged, replace the tip. A worn tip produces a fan pattern that is too wide or uneven, which wastes paint and produces blurry lines.
Never use a metal pick or drill bit to clear a tip. The orifice is precision-machined, and even slight widening ruins the spray pattern permanently.
Dampen a cloth with solvent and wipe down the paint bucket, hoses, gun body, and the machine frame. Paint that dries on the outside of hoses makes them stiff and prone to cracking. Wipe the wheels and frame too. Dried paint buildup adds weight and hides developing cracks or rust.
After cleaning, apply lubricant to the piston, any grease fittings, and the wheel axles according to your machine’s manual. Skipping lubrication causes metal-on-metal wear that is silent until something seizes. A single drop of the correct lubricant after every cleaning session extends pump life significantly.
Need a reliable striping machine for your lot or field?
The Fox Valley Super Striper is built for consistent line width on asphalt, concrete, and turf, and cleans up fast after every job.
At the end of the striping season, or any time the machine will sit unused for more than a week, go beyond the daily flush:
For a broader look at getting the best results from your machine on the job itself, read the guide on how to properly stripe a parking lot like a pro.
Starting a striping project from scratch?
The Fox Valley Starter Kit bundles the striping machine with traffic paint, everything you need to stripe a full lot in one box.
Relieve pressure, remove the spray tip, flush the system with the correct solvent (water for latex, mineral spirits for oil-based), clean the three filters, wipe all surfaces, and lubricate moving parts. Never leave paint sitting in the system overnight.
Use warm water for latex or water-based traffic paint, including the Fox Valley Super Supreme traffic paint. Use mineral spirits or paint thinner for oil-based coatings. Using the wrong solvent damages internal seals and gaskets.
After every single use, no exceptions. Filters should be inspected weekly and replaced when clogged or damaged. A full deep clean and lubrication should be done at the start and end of every season, and before any storage period longer than one week.
Paint hardens inside the pump, hoses, and filters. The result is lost spray pressure, uneven or narrow lines, clogged tips, and in serious cases, a seized pump that cannot be flushed, requiring expensive repair or full replacement.
Remove the tip and soak in the correct solvent. Use a soft brush or tip cleaning needle to clear the orifice. Never use a metal pick. It widens the precision opening and permanently ruins the spray pattern. If the tip opening is visibly deformed or worn oval, replace it.