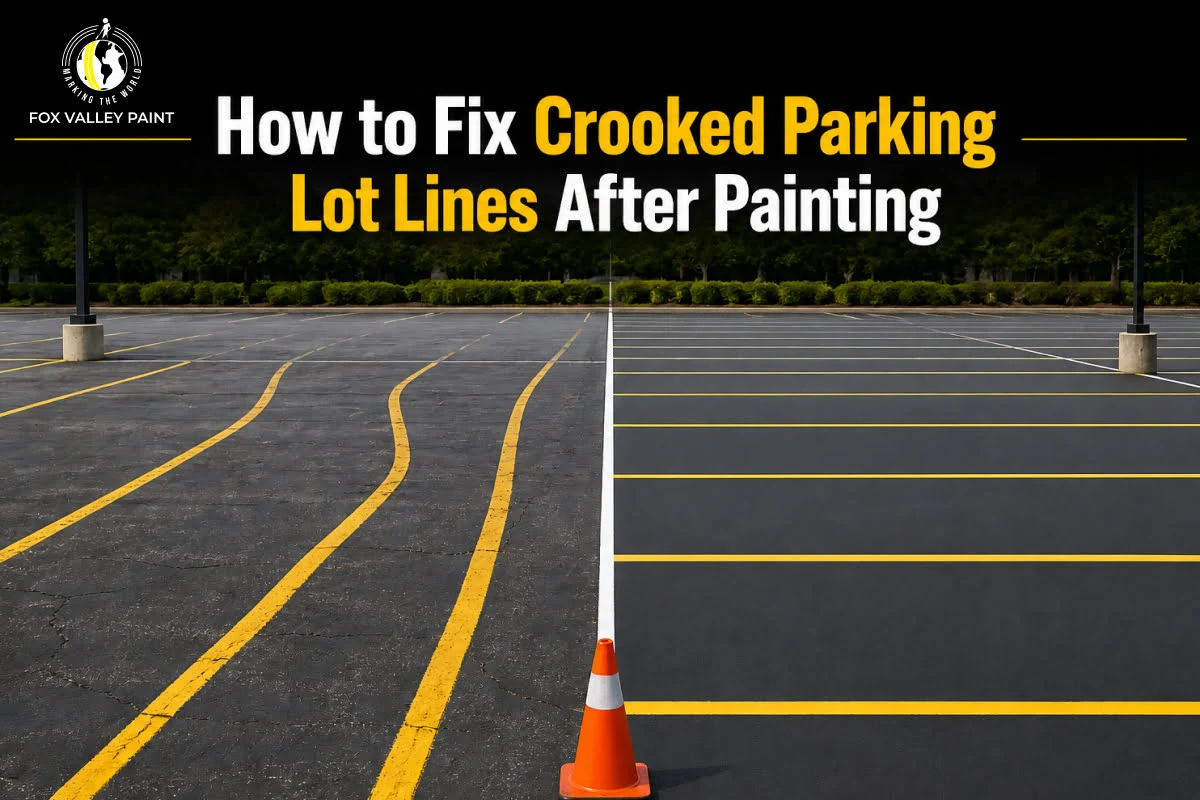
You stepped back after striping your lot, and something looked off. The lines are crooked. Maybe slightly angled, maybe wildly off. Either way, it is a frustrating moment that happens to beginners and experienced DIYers alike.
The good news: crooked parking lot lines are fixable. This step-by-step guide walks you through exactly how to correct the mistake, repaint with confidence, and make sure it never happens again.
Before fixing the problem, understand what caused it. The most common reasons include:
Most of these are technique issues, not equipment failures. Knowing the root cause protects you from repeating it on the repaint.
Not every crooked line needs a full redo. Ask yourself three questions:
If one or two lines drifted slightly, you can correct them without much effort. If the entire layout is misaligned, you will need a removal or blackout approach before repainting.
Do not try to fix a line that is still wet. Quality traffic striping paint dries to the touch in 15 to 30 minutes, but full cure takes longer depending on temperature and humidity. Painting over a wet line smears, bleeds, and makes the problem significantly worse.
Wait a minimum of 2 to 4 hours before starting any correction work.
Cover the wrong line using a black asphalt-matching paint or driveway sealer to match the lot surface. Once dry, repaint the correct line over it. This works best on dark asphalt. Note that the original line may ghost through over time as the sealer fades.
A high-coverage, fast-drying aerosol striping paint makes corrections clean and efficient. Check out the Fox Valley Traffic Striping Paint built for exactly this kind of precision work on asphalt and concrete.
This is the step most people skip the first time, and it is the most important. Before applying any new paint:
If you are using a line striping machine, guide the wheel against your chalk line rather than relying on eye judgment alone. A machine is only as accurate as the layout beneath it.
Here is what professional stripers do on every single job:
A complete parking lot starter kit that bundles a precision striping machine with the right paint removes almost every freehand error that causes crooked lines in the first place. It is the single best upgrade for anyone planning to stripe their own lot.
The Fox Valley DIY Parking Lot Starter Kit includes a precision line striping machine and professional-grade traffic paint so your lines go down straight, bright, and built to last. No experience needed.
Yes. Let the line dry completely, cover it with black asphalt paint, then repaint the correct line once that dries.
Wait at least 2 to 4 hours for the paint to cure before applying any correction or cover coat on top.
Hot water pressure washing can fade or remove traffic paint, especially fresh applications. Results vary by surface type and paint age.
Snap a chalk guide line first and follow it. Freehand spraying without a reference line is the top cause of crooked stripes.
Most lines are 4 inches wide with stall widths of 8.5 to 9 feet. See the full parking lot line width guide for ADA compliance details.