
How to paint directional arrows in a parking lot, done right, is one of the most practical skills a property manager, contractor, or DIY lot owner can have. A well-placed arrow keeps traffic moving, reduces wrong-way incidents, and tells drivers exactly where to go before they have to guess. Get it wrong and you get confusion, near-misses, and liability.
This guide covers everything: arrow size, stencil selection, surface prep, painting technique, and the mistakes that lead to blurry, short-lived results. By the end you will know how to paint directional arrows in a parking lot that stay sharp for years, not months.
Arrows are not optional decoration. In a busy lot, they control traffic flow the same way road signs do on a public street. Lots without clear directional markings see more fender-benders, pedestrian conflicts, and dead-end confusion that backs up an entire lane.
When you combine arrows with a solid parking lot layout, the result is a lot that drives itself. People know which way to go without reading a sign or second-guessing.
Not every arrow does the same job. Match the arrow shape to the function:
For most standard lots, straight arrows and left/right turn arrows cover 90% of what you need.
Arrow size directly affects how far away a driver can read it. Use the wrong size and the arrow becomes useless, spotted too late to react.
Keep sizes consistent within the same zone. A mix of 36-inch and 60-inch arrows in the same aisle looks inconsistent and reduces driver confidence.
Before touching a can of paint, sketch your drive aisles on paper or a satellite image of the lot. Mark every decision point: any place a driver could go the wrong way, merge into traffic, or miss an exit. These are the spots that need arrows.
A good rule: place an arrow at the start of every one-way aisle, at each lane split, and 50 to 100 feet into long aisles so drivers see direction reinforced before they get too deep in.
Paint sticks to clean, dry pavement. Blow out loose debris with a leaf blower. Scrub oil spots with a degreaser and rinse. Let the surface dry completely; even minor moisture under the paint causes early peeling. If you are working on freshly sealed asphalt, wait at least 30 days before painting.
Use chalk to mark the center of each arrow location and which direction it faces. This takes two minutes and prevents the painful mistake of painting an arrow pointing the wrong way. Double-check by walking the aisle as a driver would.
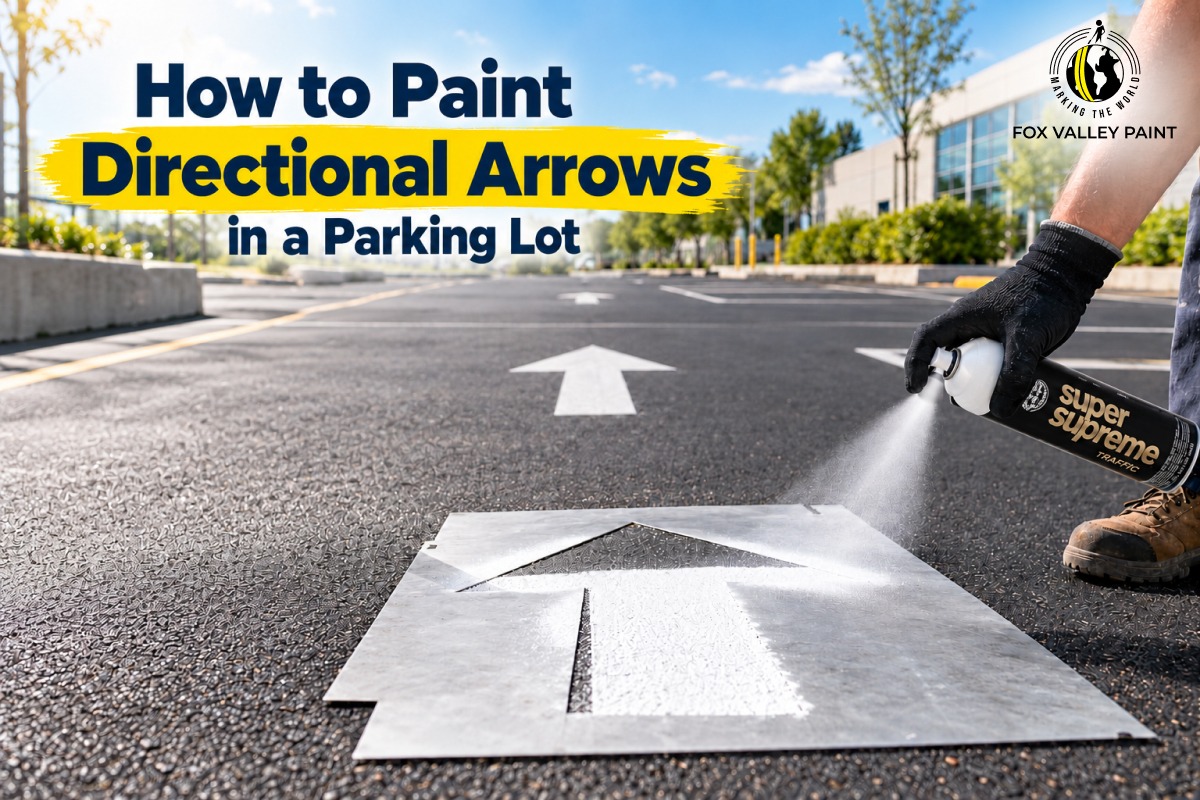
Set the stencil flat on the pavement, aligned with your chalk marks. Weight the corners with bricks or bolt them with removable tape. On a windy day, even a slight lift under the stencil causes paint to bleed underneath the edges, the number one cause of blurry arrows. Check that the stencil lies completely flat before you spray.
Hold the traffic spray paint can 12 to 14 inches from the stencil surface. Spray in steady overlapping passes; do not try to lay down full coverage in one heavy pass. Two to three light coats produce sharper edges and better durability than one thick coat. Work from the center outward toward the arrowhead to avoid pushing wet paint under the edge of the stencil.
For large lots or when you are painting multiple arrows in the same session, a line striping machine speeds up the work and keeps pressure consistent across every arrow.
Pull the stencil straight up. Do not drag it sideways or you smear wet edges. Inspect the arrow immediately. If edges bled, use a small brush or rag dampened with paint thinner to clean them while still wet. If coverage looks thin in the center, lay the stencil back down and add one more light pass.
Set cones around each fresh arrow. Most traffic striping spray paint is touch-dry in 20 to 30 minutes under normal conditions. Give it a full hour before you allow vehicle traffic. Heat speeds drying; cold or humidity slows it.
Ready to paint your parking lot arrows?
Fox Valley’s traffic striping spray paint is designed for asphalt and concrete, dries fast, and holds up under heavy traffic.
When you know how to paint directional arrows in a parking lot correctly (clean surface, proper stencil, traffic-rated paint), arrows last 2 to 3 years in moderate-traffic lots. High-traffic commercial lots may need repainting every 12 to 18 months. Check your arrows at the start of each season. If you can see the pavement color through the center of the arrow, it is time to repaint.
For a full timeline on when to repaint all your markings, read the guide on how long parking lot paint lasts.
Doing the whole lot, not just the arrows?
The Fox Valley Starter Kit includes paint, machine, and everything you need to stripe stalls, stop bars, and directional markings in one pass.
Standard sizes are 36, 42, and 60 inches tall. Use 60-inch arrows on main drive lanes where visibility distance is longer. Use 36 to 42 inches in tight secondary aisles or low-speed areas.
White is the standard color for most US parking lots. Some jurisdictions use yellow for caution or one-way areas. Check your local municipal code before you paint.
Inspect every season. High-traffic lots may need fresh arrows every 12 to 18 months. Low-traffic lots can go 2 to 3 years. Repaint whenever the center of the arrow shows the pavement color below.
Yes. A proper stencil produces clean, consistent edges that hold up longer. Freehand arrows look unprofessional, fade unevenly at the edges, and can create confusion if the shape is unclear.
No. Household spray paint is not formulated for asphalt or heavy outdoor use. It fades quickly, peels under tire abrasion, and will need repainting far sooner. Always use traffic-rated striping paint designed for pavement surfaces.