Repainting your parking lot lines doesn’t have to be expensive, complicated, or stressful. With Fox Valley Paint’s DIY striping system, anyone can achieve clean, professional-quality lines without hiring a contractor.
Whether your lines are faded, uneven, or completely missing, this DIY kit lets you transform your parking lot into a neat, organized, and professional-looking space on your own. In this guide, we’ll walk you through easy, step-by-step instructions so you can repaint your lot like a pro, save money, and make a lasting impression on visitors.
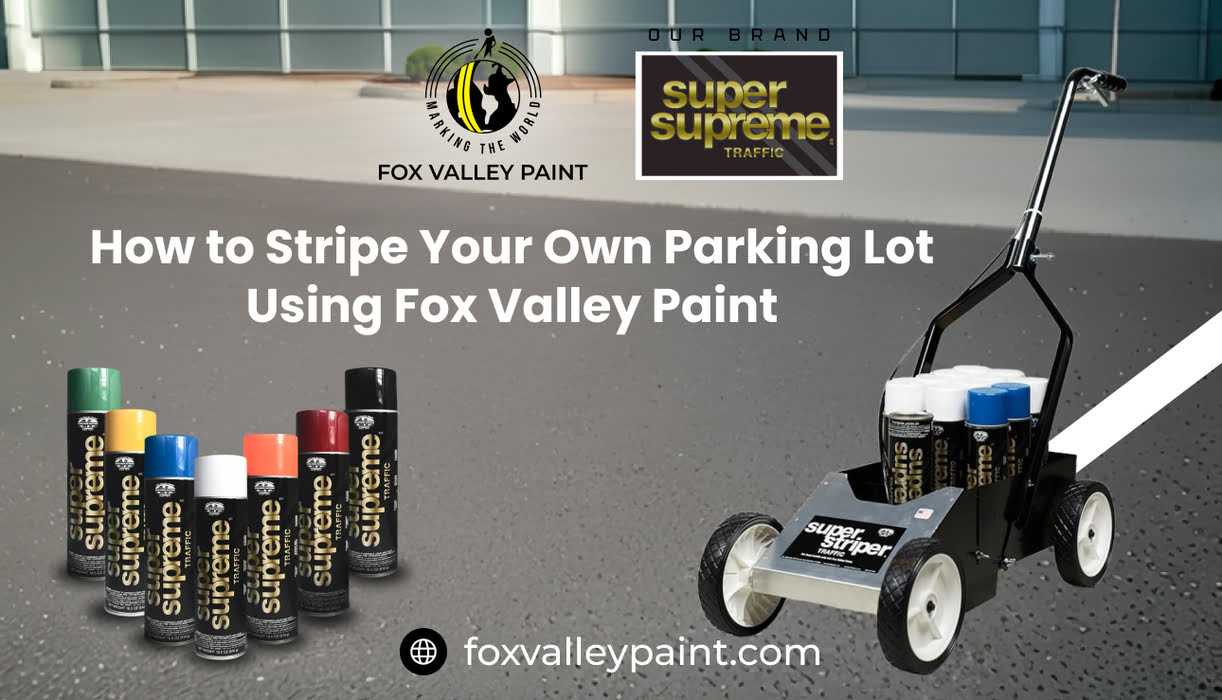
Fox Valley Paint specializes in aerosol traffic striping products that make line marking simple and precise. Their “Paint Your Own Lot” Starter Kit is designed for beginners, small businesses, schools, and property managers who want an easy and affordable solution.
Benefits of Fox Valley Paint:
You can have the best paint in the world, but if you’re applying it with the wrong tool, you won’t get professional results.
A clean surface ensures proper paint adhesion and long-lasting lines.
Do this first:
Proper planning ensures straight lines and correct spacing.
Layout tips:
Easy to use, no special training required.
Setup steps:
Maintain a steady pace and smooth motion for professional results.
How to paint properly:
Enhance your lot with arrows, handicap symbols, or text using stencils.
Recommended stencils:
Optional for older pavement or high-traffic areas.
Second coat tips:
Ensure lines are fully cured before heavy traffic.
Drying timeline:
Full cure: 24 hours
Visual learners, this is for you! Watch this short video for a step-by-step guide on DIY parking lot striping using Fox Valley Paint:
Click to watch and see how easy it is to get professional lines on your parking lot without a contractor.
Use this simple checklist from the YouTube demo to get started:
Clean the striping area
Adjust the handle for your desired stripe width
Shake the paint can for 1 minute
Insert the can and rotate until it seats properly
Begin striping
Walk at an even, steady pace
Spray by hand when using stencils
Save time and money every time you stripe your own lot
The secret to great line marking isn’t just technique, it’s choosing the right materials from the start.
From the first spray to the final line, everything depends on the right combination of paint, applicator, and surface match.
At Fox Valley Paint, we’ve built our products for professionals who can’t afford second chances.
Our paints are strong, our equipment is precise, and our results speak for themselves.
Whether you’re marking a field, parking lot, or worksite, do it once, do it right, and do it with Fox Valley Paint.
Visit foxvalleypaint.com to explore our range of marking paints, striping machines, and starter kits; and see why professionals around the world trust us for clean, lasting results.
Touch dry in 10–20 minutes, light traffic in 1 hour, fully cured in 24 hours.
Every 1–3 years, depending on traffic and weather conditions.
Water-based for most lots, solvent-based for durability, thermoplastic for heavy-duty/high-reflective needs.
Yes, stripe on dry days with moderate temperatures to ensure proper adhesion.
Skipping surface prep, misaligning lines, rushing drying, and using low-quality paint.
Use quality paint, apply two coats in high-traffic areas, clean regularly, and reseal pavement when needed.